Introduction to Lighting Architectural Models
Lighting is a very important feature in presenting architectural models and is primarily used to increase the aesthetic appeal and functionality of such models. Whether you are an architectural model maker or an architectural model service professional, learning the ways of effectively lighting an architectural model can elevate your work to a whole new level. Lighting not only illuminates but brings out the details, enhances the atmosphere of a design, and communicates a vision in a way no static visuals alone can.
This tutorial will cover the importance of lighting techniques in architectural models, the types of lighting available, and how to implement the lighting for scale models efficiently. By the end of this guide, you will have a better understanding of how to light an architectural model in such a way that it accentuates its features and creates an impactful, professional result.
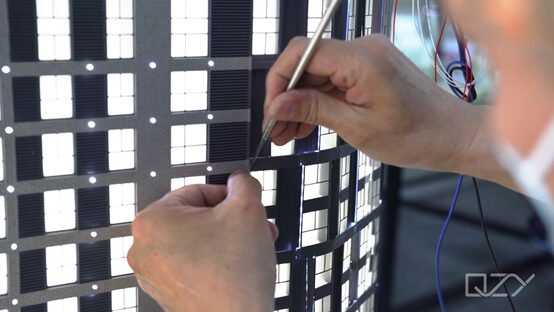
Purpose of Lighting in Models
The primary purpose of lighting an architectural model is to present the design in a clear manner that accentuates those features making the structure unique. This may involve the emphasis on certain details, the creation of ambiance, or the drawing of attention to particular elements of the design. Lighting shows the depth, materials, and overall layout of the structure, thereby making it more interesting to the viewer.
Proper lighting also performs its psychological role in influencing the viewers to look at the model in certain ways. Lighting can achieve that kind of realism so the model may appear to be sitting in a full-scale context. It can show how a design emotionally communicates, through warm and inviting, or cool and modern shades.
Importance of Lighting Techniques
Without good light applications, even the most detailed model of architecture could be either flat or lifeless. In the process, for example, it could highly change one’s perception of space and scale through the use of light and shadow. The making of models in architecture requires delicate lighting to balance well for presentation; lighting could add to or subtract from a model’s appeal.
Lighting also plays an important role in models used for architectural presentations, interior design models, or client reviews. It not only adds a touch of sophistication to the design but allows viewers to perceive the spatial and environmental features of the proposed structure. A well-chosen lighting scheme can raise the model beyond its simple scale replica to an effective visual communication tool.
Understanding the Role of Lighting in Architectural Models
Lighting is not only about illuminating a space but is also a powerful medium that has various applications in architectural models. Knowing what it is will give you insight into making conscious decisions regarding how you light your model to make it look its best for viewing.
Creating Visual Impact
Lighting in architectural model-making is not for mere illumination, but it does play an important role in how your model will look. Well-placed lighting within a model can highlight aspects of particular interest, like windows and doorways or landscaping features; it can produce striking light and shade contrast, making your model more three-dimensional and attractive.
Lighting can convey feelings of warmth and coziness or sleekness and modernity, depending on where it is placed and what type it is. In a presentation for an architectural project, these visual impacts help communicate the intended experience of the space, whether it’s a cozy home or a vibrant commercial hub.
Smoothing out Realism and Depth
The main functions of light in architectural models are connected with the effect of volume and depth. Just like in real-world architecture, lighting can emphasize the contour and details of a structure to bring it alive. Shadows and highlights due to strategic lighting give more three-dimensionality to the model.
In scale models, lighting is used as a tool to accentuate textures, materials, and spatial arrangements where the small size of the object may not allow for fine details to be seen. A well-lit model provides clarity and reveals intricate details that might otherwise be overlooked.
Communicating Design Intent
Lighting in architectural models is a very powerful medium to bring across the designer’s intent. It brings forth the qualities of the materials, the interplay of spaces, all part of the architect’s original vision. The type of lighting you decide to use-warm or cool, subtle or bold-helps to reinforce the ambiance and style of the design.
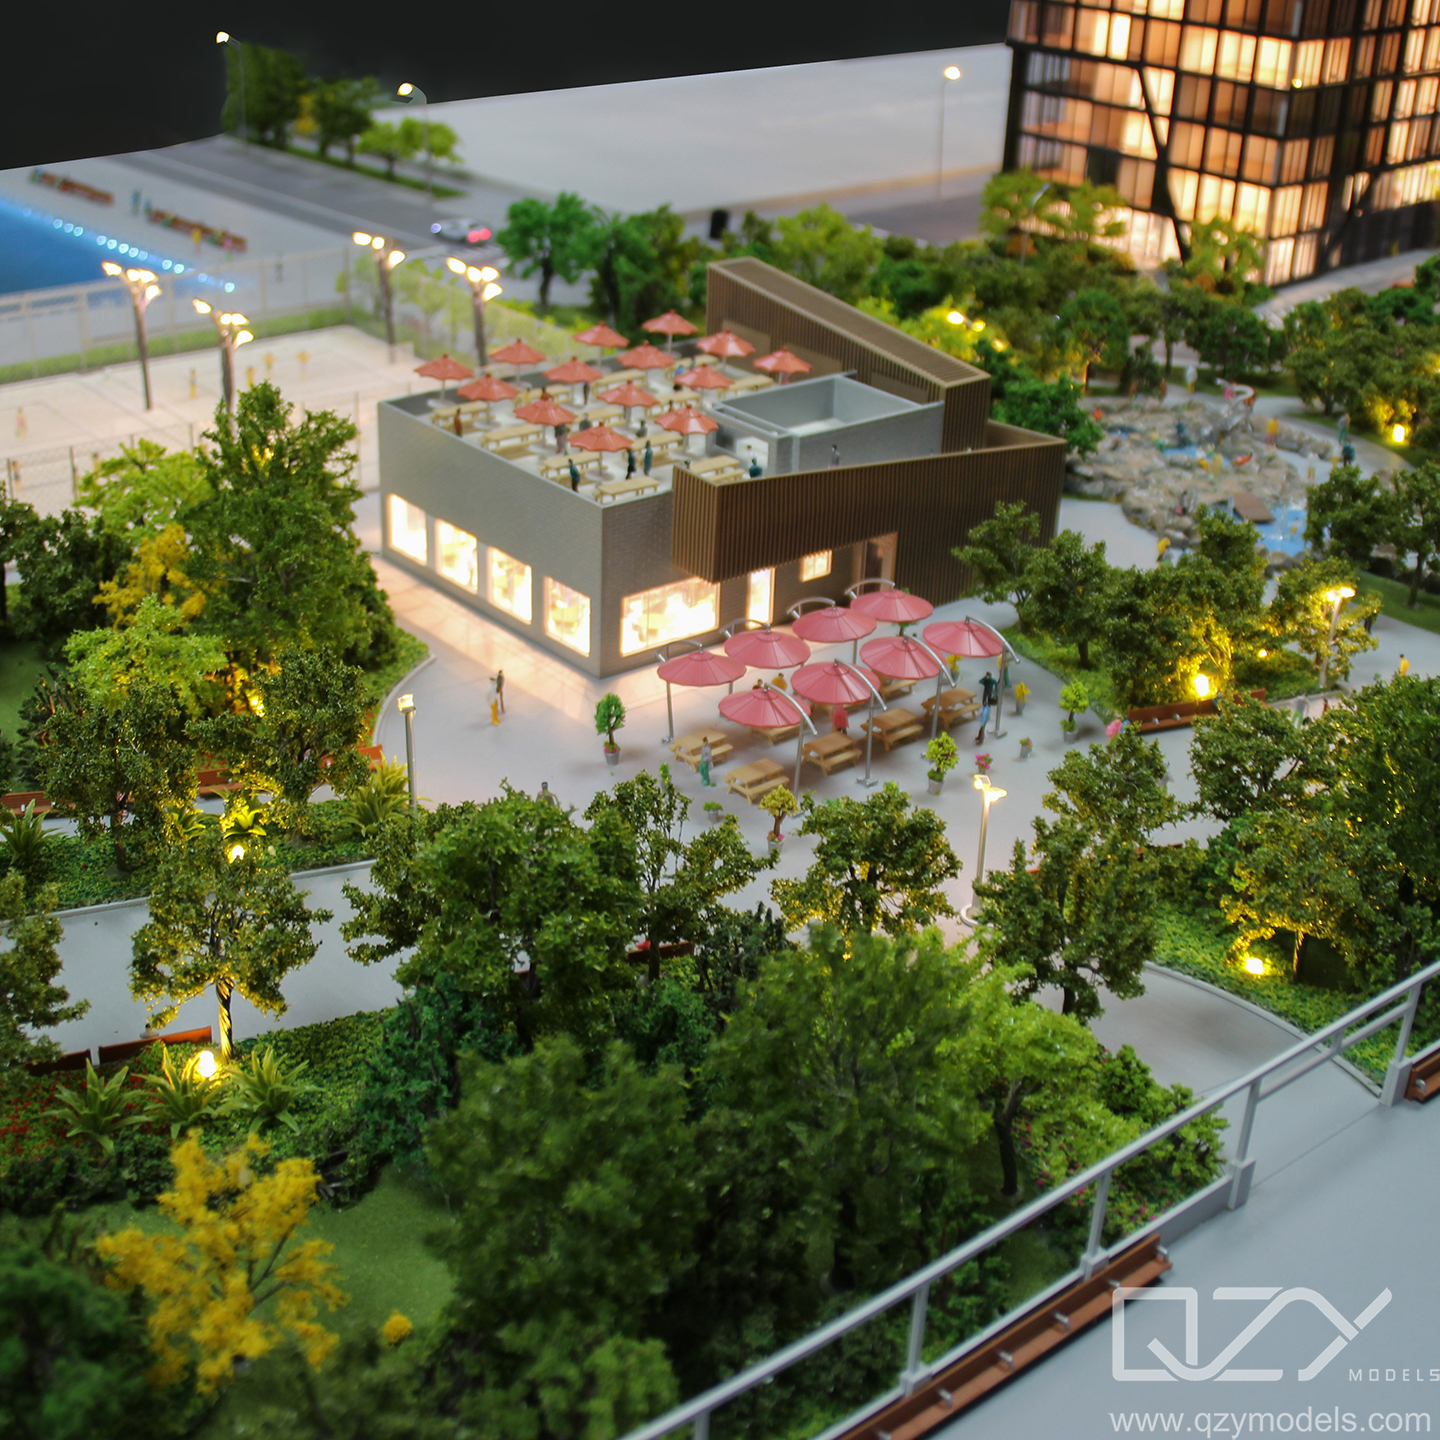
An architect can communicate through lighting how the space will work in reality. For instance, a night-time lighting scenario can depict how natural and artificial light would interact in an interior space, providing insights into the building’s energy efficiency and how occupants might interact with the environment.
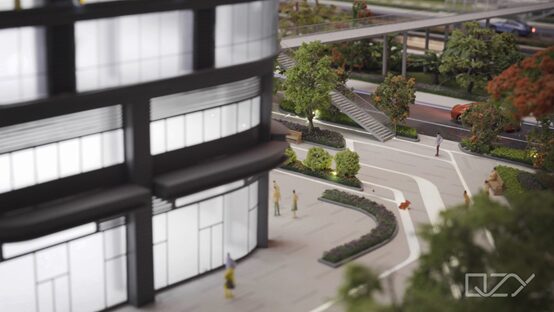
Types of Lighting for Architectural Models
Lighting is designed in an architectural model for serving purposes. Understanding various lighting types would be essential for picking up the right options regardless of the work, either the creation of large-scale models in commercial buildings or the creation of a small-scale interior design model.
Ambient Lighting
Ambient light refers to the overall, general light in the space. It provides an even illumination that fills up the model and prevents hard shadows. In architectural models, ambient lighting is crucial in creating a balanced visual effect in which all parts of the model are visible without overexposure to any area.
For large-scale architectural models, ambient lighting is usually performed with LED light strips or diffused light sources. In interior design models on small scales, several small low-powered LED lamps can perform a similar function.
Accent Lighting
Accent lighting is designed to highlight particular features of the model, such as intricate design elements, facades, or landscaping. This type of lighting is more focused and typically used in areas that require emphasis, such as highlighting a building’s entrance or creating dramatic effects.
In architectural models, accent lighting draws attention to features that could otherwise go unnoticed. Accent lighting in scale models is normally provided with spotlights or directional LED lights.
Task Lighting
Task lighting in architectural models is used to give an intense light to those very areas where the details need to be seen. Example: Task lighting applied for interiors of a model will work to illuminate rooms, furniture, or small details. The degree of brightness should be as much as will permit viewing these details closely but would not overwhelm the model in question.
Task lighting often uses adjustable fixtures, like clip lights or spotlights, to target specific parts of the model. These lights are perfect for illuminating particular features, such as staircases, windows, or interior layouts in interior design models.
Spotlighting
Spotlighting is a strong form of accent lighting and is usually used to achieve dramatic effects or to direct attention to a focal point. In architectural models, spotlighting can be used to highlight important aspects of the design, such as a unique feature, a point of entry, or a focal architectural element.
Spotlights are usually mounted above or beside the model, with the light directed precisely at the desired area. This type of lighting can be used sparingly to create impactful visual moments.
LED Lighting
LED lighting has been the gold standard for model lighting ever since its introduction, having the advantages of efficiency, longevity, and versatility in its application. The LED light sources are compact and take as little space as possible inside the model; they are easily implementable in your design. They emit almost no heat, which makes them perfectly suitable for scale model applications where excess heat might destroy valuable delicate materials.
LEDs come in various colors and brightness levels, providing flexibility in achieving the perfect effect. The wide range of LED options available allows architectural model makers to experiment with different lighting setups to best showcase the model’s design.
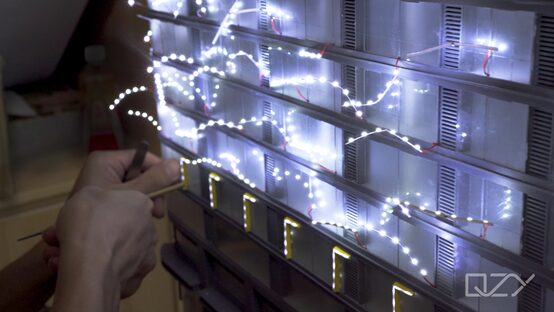
Step-by-Step Guide to Lighting an Architectural Model
Lighting an architectural model is a process that requires careful planning and execution. Whether you’re working on a residential project, an interior design model, or a large-scale urban plan, following these steps will ensure that your lighting setup brings out the best in the model.
Step 1: Planning and Designing the Lighting Layout
Before you start adding lights to the model, it’s essential to plan the layout. Consider the model’s purpose—whether it’s for a presentation, display, or client review—and determine what areas need the most attention.
Begin by sketching the layout of your model and where the lighting would be placed. You must think about what feature, or features, of this model you want to showcase like specific architectural details, inside layouts, or an open area outside. This will be a good time to look at the type of lighting required: ambient, accent-task, or spotlighting.
Step 2: Lighting Equipment
There you choose the proper lights that will yield your desired result. LED would often work out because it works conveniently with energy and effectiveness; the size also makes them less cumbersome. Watt of different LED bulbs could probably serve, or fixtures are other choices dependent on model sizes.
For large-scale models, light sources can be required from outside the model; strip lights or floodlights will give an ambient general light. Smaller models can use miniature LED bulbs or fiber optics for a more subtle, detailed effect.
Step 3: Establishing Light Zones
Lighting an architectural model can be broken into zones of lighting. Different areas may require different types of light to show contrast and accentuate the various features in the model.
You might want to create a lighting zone for the outside of the building, one for inside the spaces, and another for landscaping or specific details. This zoning will let you change the intensity and color of light in each area for the most realistic or impactful effect.
Step 4: Integrating Control Systems
A good control system is paramount to operating the lighting on the model. You can switch and dim the light with a simple integrated switch or dimmer. You can use more complex systems that can have programmed variations in light intensity relative to the time of day, simulating morning, noon, dusk, evening, or nighttime scenes.
The automated control systems allow you to create lighting changes that simulate different times of day, such as daylight to evening or the effect of artificial lighting at night.
Step 5: Testing and Adjusting the Lighting
Once the lights are on location, one must test the lighting. Fire up the lights and see the appearance of the model to one’s liking. Improve intensity, angles, and the works until every one of the details is visible; by doing so, show what the lighting can create.
Test different lighting scenarios, such as testing how the model looks under ambient lighting versus accent or task lighting. Play with the intensity and direction of the light to see how it affects shadows and highlights. This process will help you fine-tune your model’s lighting and make adjustments to achieve the desired visual impact.
Do not be afraid to experiment with various light effects, especially on very detailed areas. Sometimes small changes make a big difference in the way the model is perceived, so take the time necessary to test and tweak the setup.
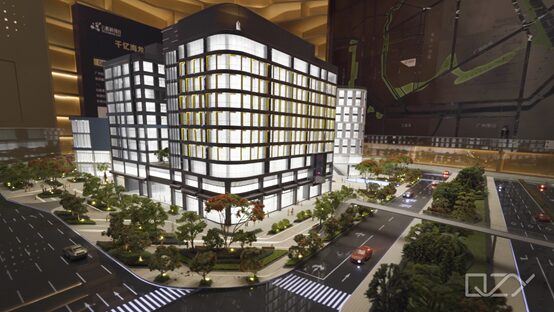
Tips for Effective Model Lighting
Lighting an architectural model effectively requires a combination of technical skills and an understanding of visual design. Following are some more tips to help you create a striking and professional lighting setup:
Use Scaled Lighting
Lighting an architectural model requires lighting that is appropriately scaled to the size of the model. A small model can easily be overpowered by large, bright lights, while larger models may require more than tiny bulbs can provide.
This again makes LED strips, mini-spotlights, and very low-wattage bulbs the best options since it is easy to scale appropriately to the size of your model. Pay close attention to scale and try to make them resemble the lighting effects realistically usable in a full-size building or space.
Mind the Color Temperature
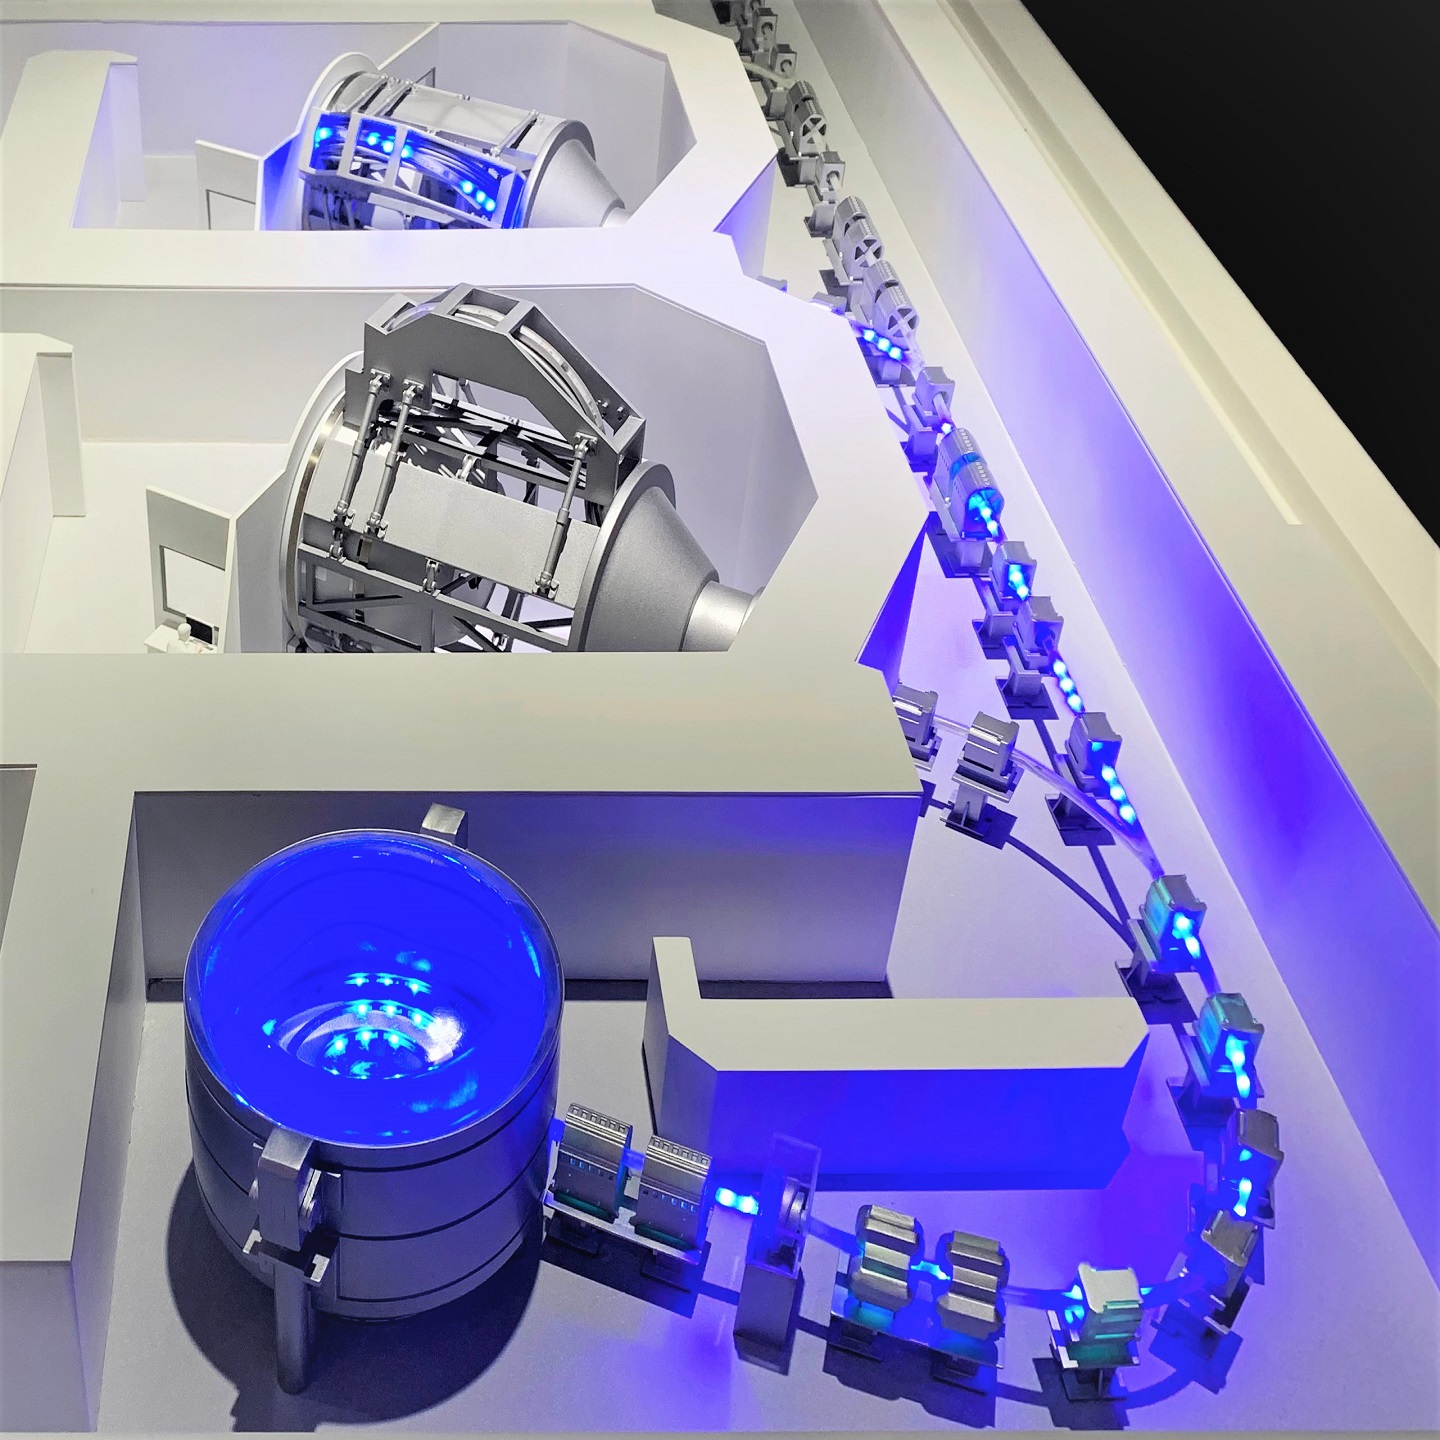
The color temperature of your light sources can drastically change the mood and feeling of your model. Use yellow or orange-colored lights for a warm and cozy appeal, and cooler, more blue-colored lighting for a modern or industrial feel.
The warmth of the light can lend to coziness, but cool lighting provides a contemporary and sleek ambiance. Depending on your model’s purpose, be sure to pick the color temperature that reinforces an atmosphere and best suits your design’s intended style.
Avoid Overheating
While lighting is important to create the right visual effects, too much heat can burn your model, especially if it’s made from fragile materials like paper, foam, or plastic. When choosing light sources, make sure they generate minimal heat.
LED lights are the best choice for this because they generate very little heat compared to incandescent or halogen bulbs. This not only ensures that your model remains in good condition but also reduces the risk of overheating components, especially when using complex control systems.
Create a Natural Look with Shadows
Shadows will be important to add some depth and realism to your architectural model. Place your lights considering the falling shadows on the model and change the angle and intensity for natural shadow effects.
For example, placing a light source above and slightly to the side of the model will cast long, soft shadows that help enhance its three-dimensionality. Shadows can be especially effective in interior design models, as they can mimic how natural light interacts with the space throughout the day.
Layer Lighting for Realism
For the most realistic results, consider layering your lighting setup. This involves using multiple lighting types in different areas to create depth, contrast, and visual interest. Start with ambient lighting for general illumination, then add accent lights to highlight specific details. Task lighting can be added to illuminate areas requiring more attention, such as interiors or small features.
Lighting layering adds much to the realism of the model but also gives you the chance to highlight areas without losing the balance in general. This technique is especially important in interior design models, where different lighting zones can be used to simulate various times of day and different lighting conditions.
Final Thoughts
One of the strongest weapons in the arsenal of architectural model-making is lighting. When done right, it raises the model from an inanimate, static model to an interactive and dynamic representation of the architect’s vision. Whether it is an interior design model with minute details or a big architectural model for a presentation, the way one lightens up the model speaks volumes to the viewer about the design.
A good balance of understanding the relevance of lighting techniques, playing with different types of lighting, and planning the structure of lighting will help in creating a more immersive and visually effective model. If done appropriately, lighting will not just reveal the features but will express the mood, atmosphere, and functionality of the space.
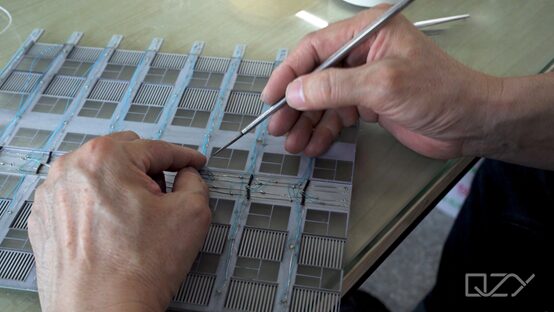
Specialist model makers like QZY produce high-quality, illuminated models that can show the client more about what is possible in a design. The light in a scale model could be the factor that turns an ordinary model showing only physical structure into a design that lives. So, be it for a big commercial project or an intricate interior design, mastering the art of how to light an architectural model will elevate your work and impress your clients.
FAQs
1. What kind of lighting is best for scale models?
LEDs are suitable for scale models because of their efficiency, versatility, and low heating. LED strips, mini bulbs, and fiber optics are all great options and can be scaled according to the size of the model.
2. How do I make the lighting for my architectural model look realistic?
Lighting can be layered to create a realistic lighting effect. Use ambient lighting for general illumination, accent lighting for highlighting, and task lighting to give focus to the minute details. Experiment with shadows and angles of light to create depth and dimension.
3. Can lighting harm an architectural model?
Too much heat will only damage your model, particularly those made from materials like paper, foam, or plastic. Using LED lights keeps the heat production at a minimum and your model intact. Always check on the heat output of your lights to prevent any potential damage.
4. How do I control the lighting in my model?
You can control the lighting using manual dimmers, switches, or automated control systems. For more advanced setups, consider using programmable systems that simulate different lighting conditions or change the lighting based on the time of day.
5. Should I light the exterior or interior of my model more?
This depends on the purpose of the model. For architectural models intended to showcase the building’s exterior, focusing on exterior lighting will be key. However, for interior design models, lighting the interiors with task lighting and accent lights will be important to highlight the design details inside the structure.


