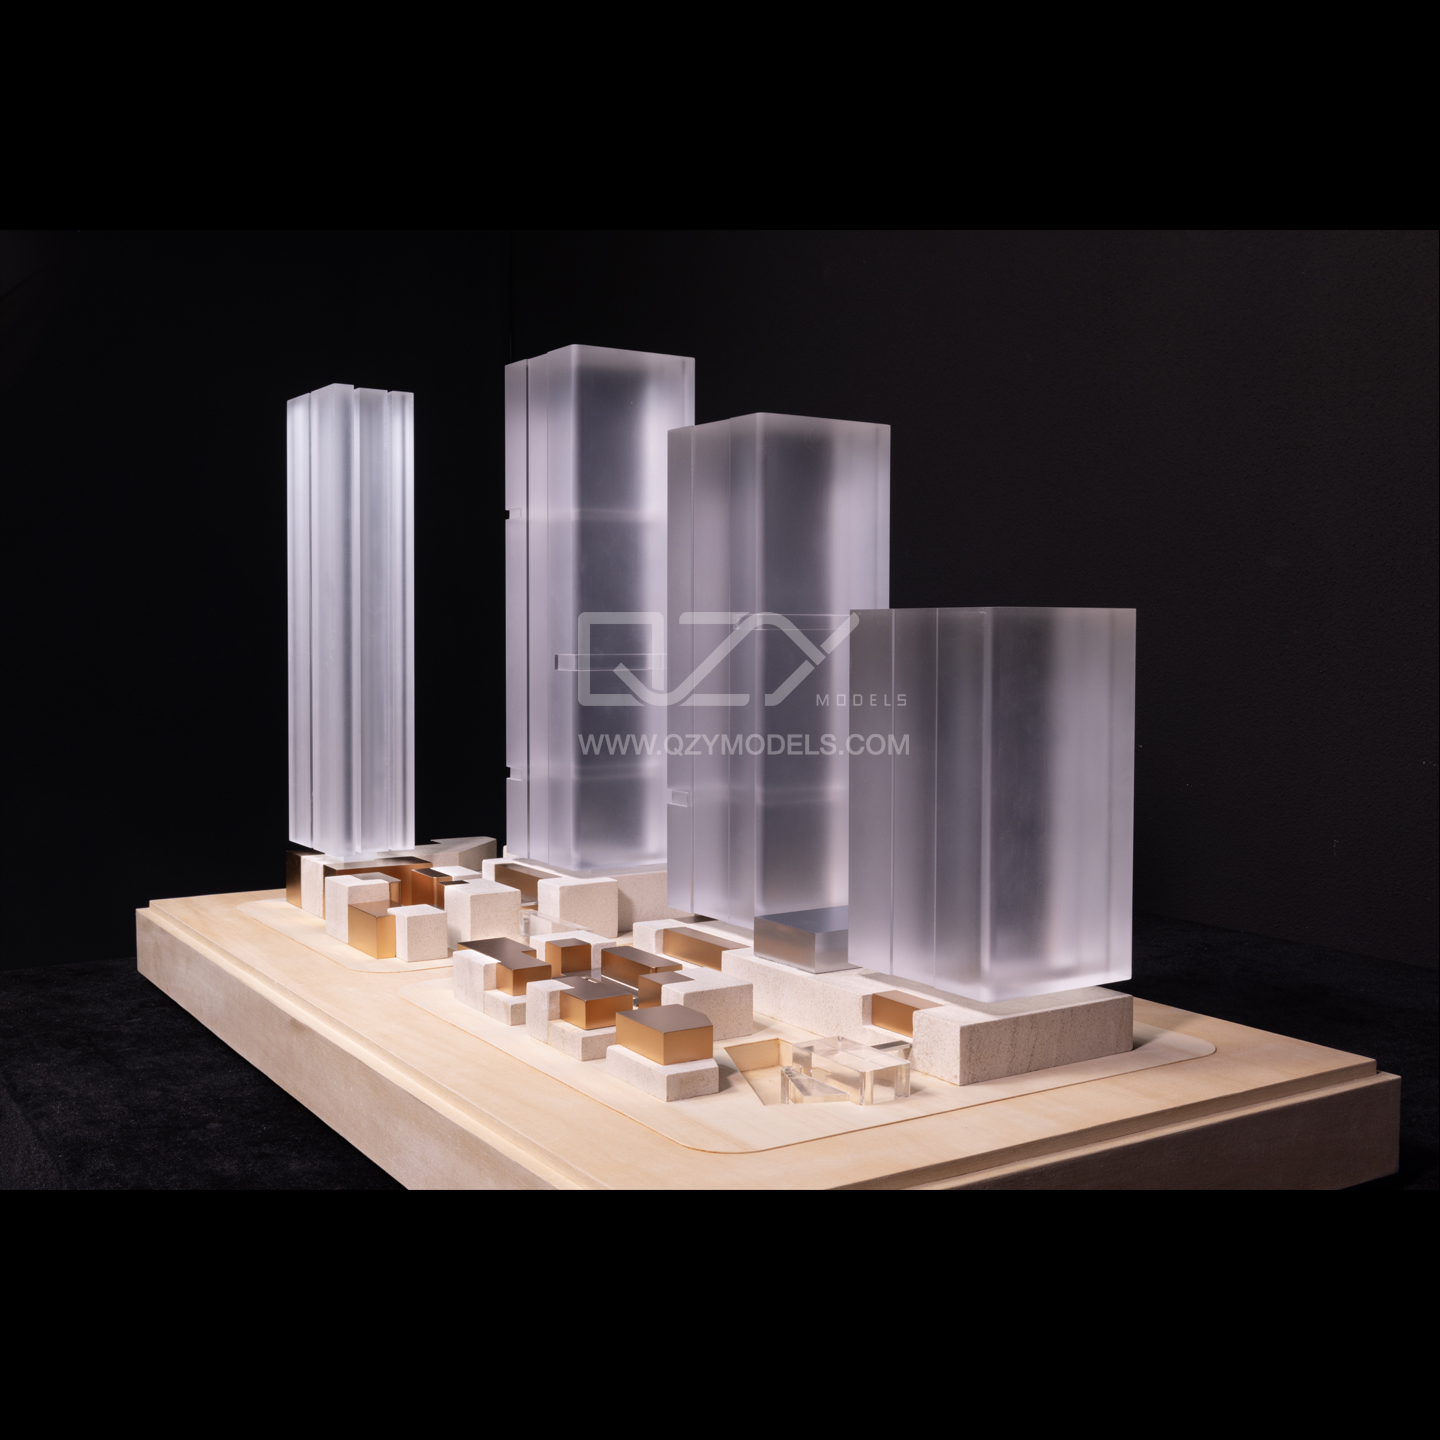
Scaling a building for an architectural model requires much care, though it is a rewarding process. The potential to bring a structure down to scale will go a long way in effectively communicating your design ideas, be it as a professional architect, model maker, or simply an enthusiast. Many find this guide helpful in operation because it breaks down each important step from selecting an appropriate scale to adding all finishing details that make the model come alive.
Step1: Select the Scale for Your Architectural Model
The selection of the appropriate scale is fundamental to creating an efficient architectural model. The scale will determine its size, the information it will carry, and how it will be handled.
Large-Scale Models:
Scales ranging from 1:2 to 1:200 are generally considered large scales. Common choices include whole numbers or multiples of 5, such as 1:10, 1:20, 1:50, 1:75, 1:80, and 1:100.
Small-Scale Models:
Scales ranging from 1:250 to 1:3000 or smaller are considered small scales.
The larger the scale (numerically), the more details are captured; the smaller the scale (numerically), the fewer details are possible.
Usage:
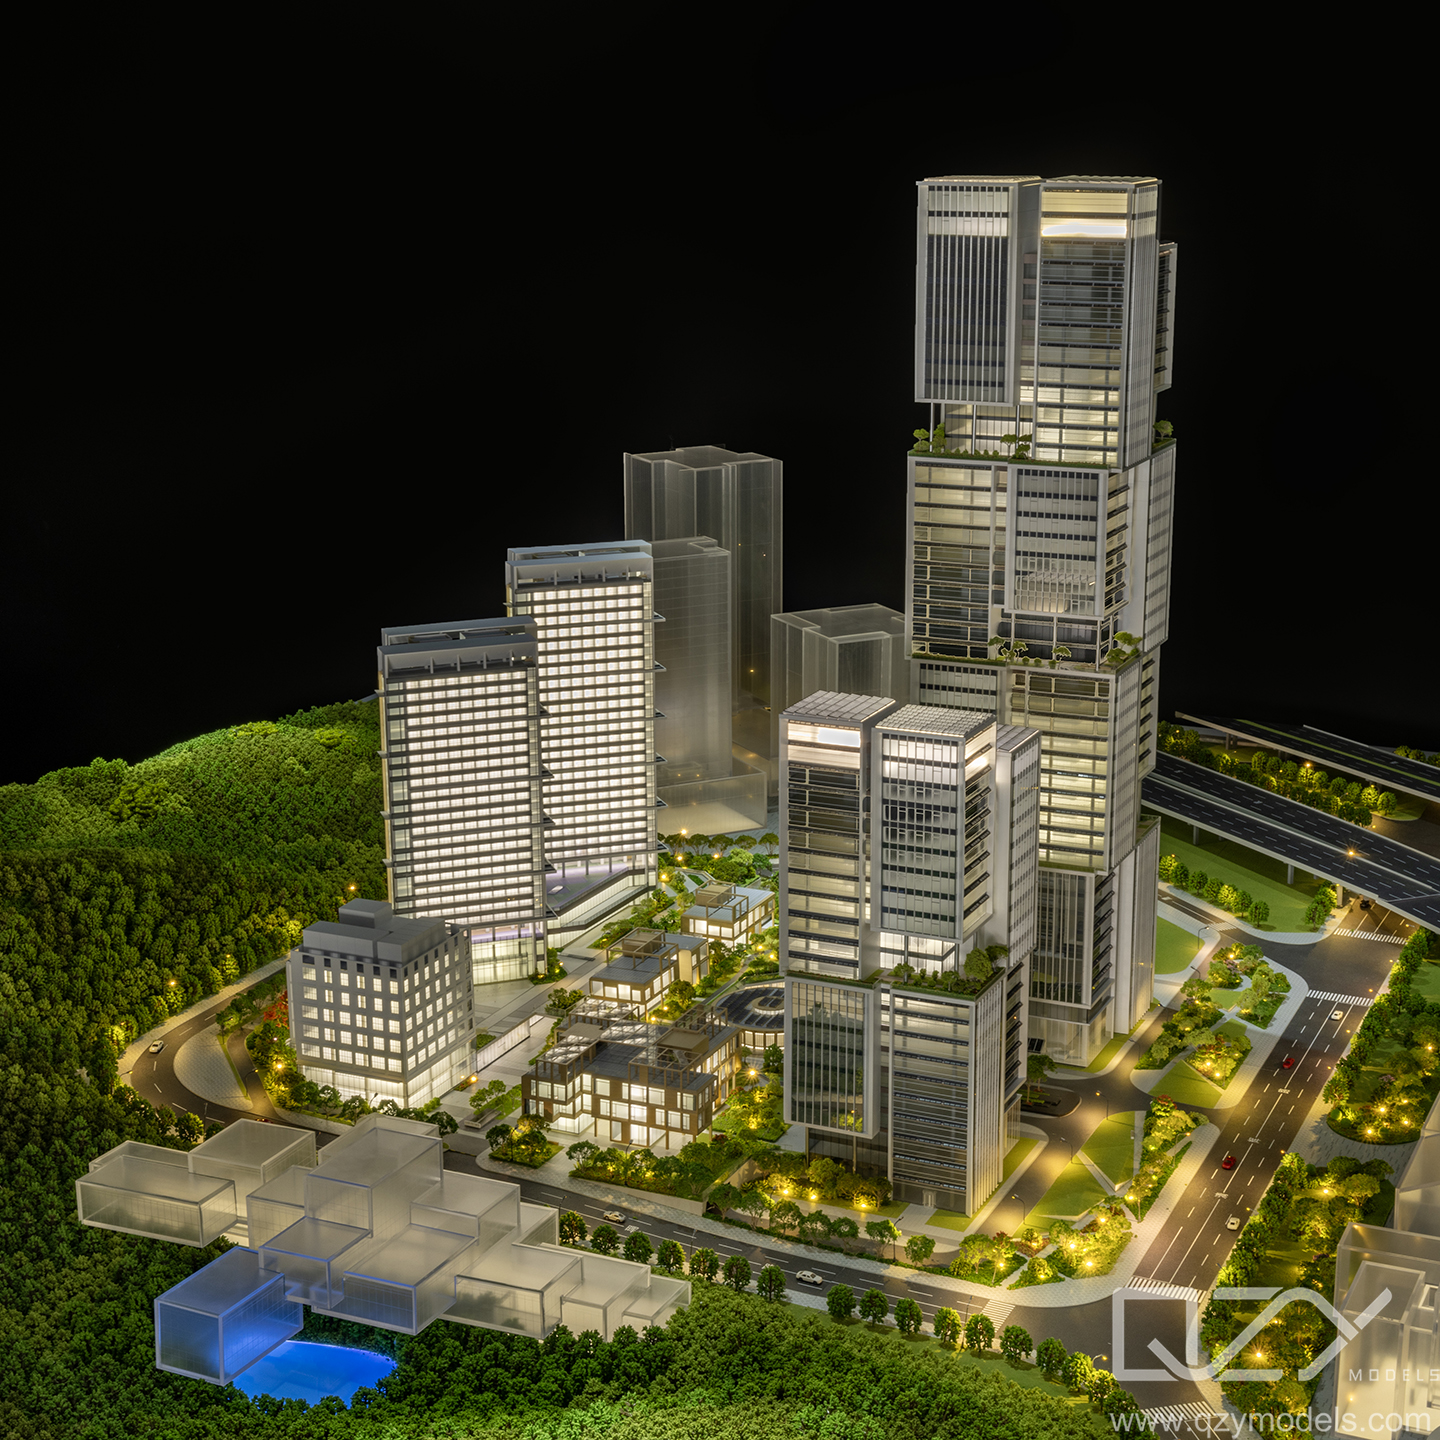
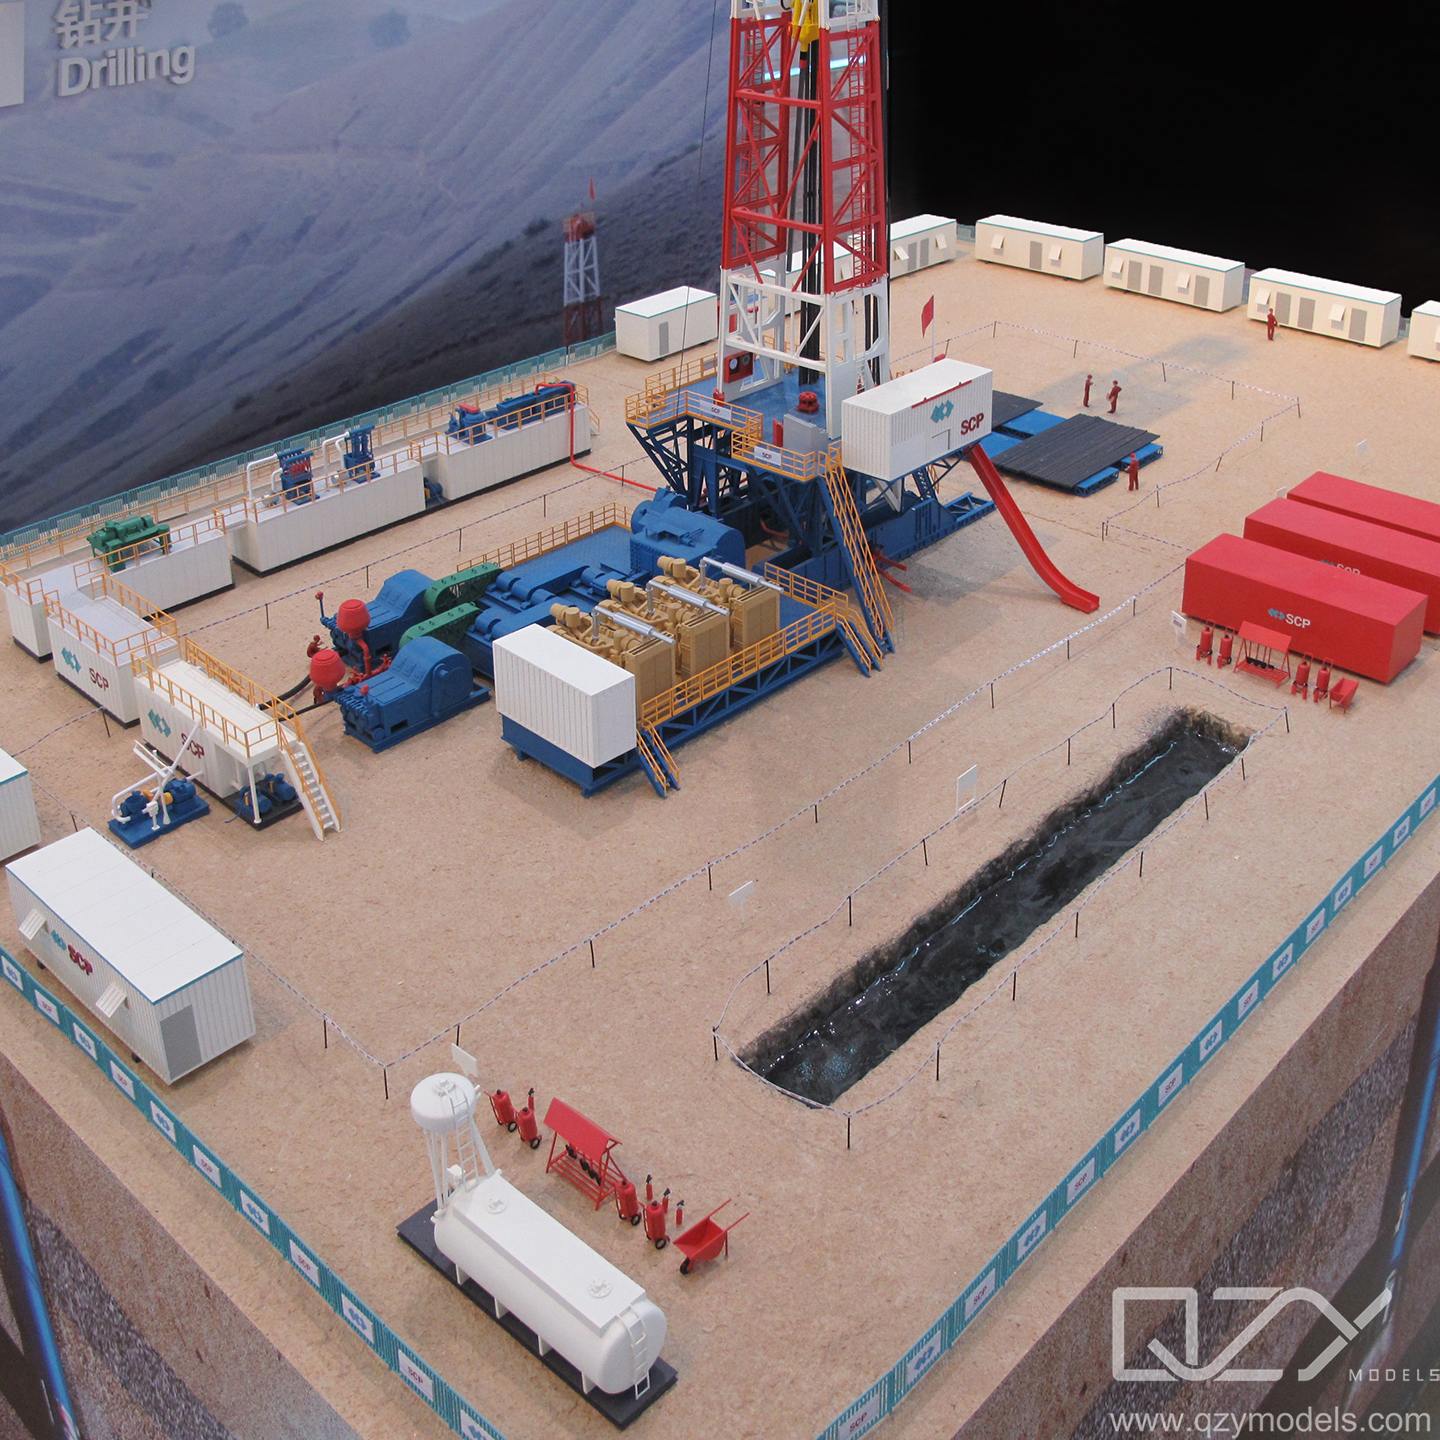
- Large-Scale Models: Ideal for in-depth design studies, presentations, and as marketing tools.
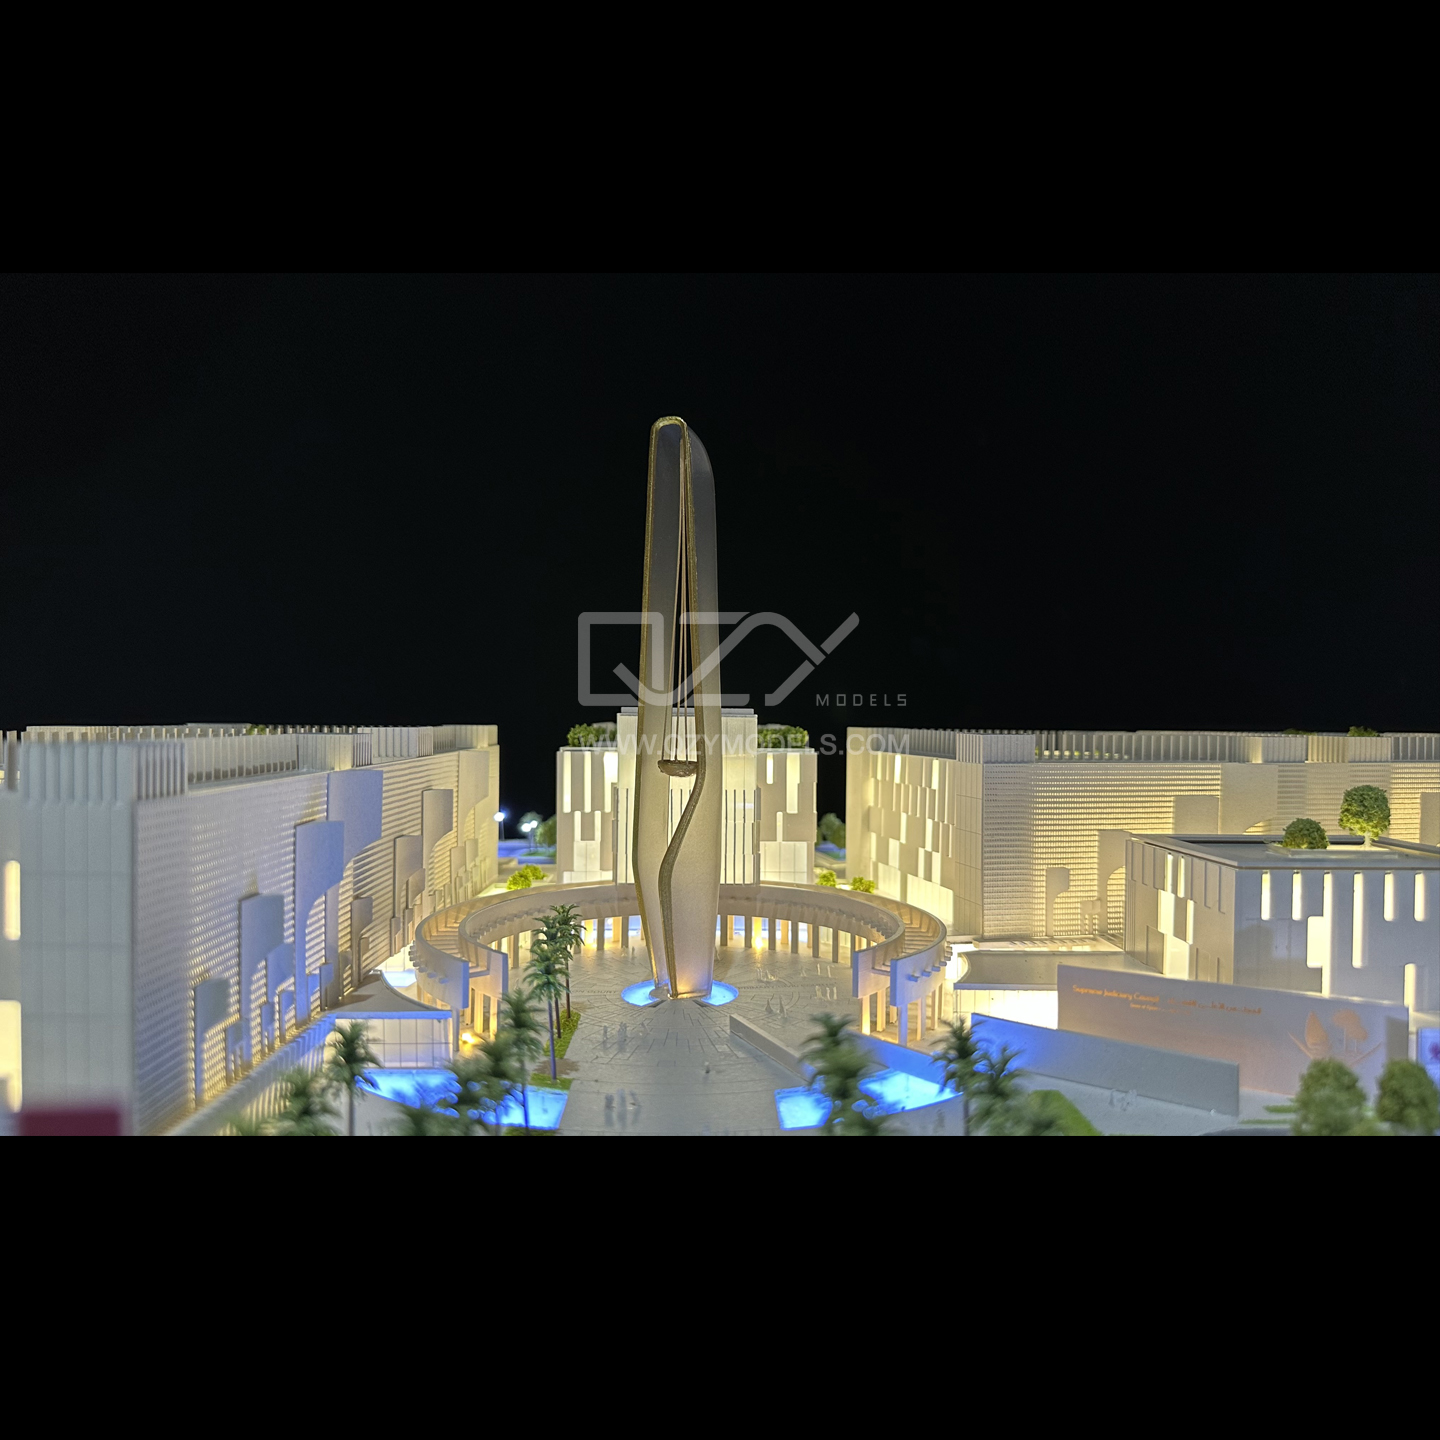
- Small-Scale Models: Typically used for early-stage design exploration, urban planning, transportation layouts, and topographical displays.
Factors Affecting Scale Choice
When you need to choose your scale, consider the following:
- Purpose: Presentation models require finer details that call for larger scales, while planning models may only require an overview.
- Scale: The smaller the scale, the less space it will occupy but the fewer details. Greater scales, such as 1:50, can show minute details but occupy more space.
- Detail Requirements: For showcasing material detail designs, spatial structure designs, or interior decoration design details, it is recommended to use scales between 1:2 and 1:50.

Step 2: Measure Buildings
Accurate building measurements are the basis of any scaled architectural model.
Evaluating and Extracting Precise Measurements from Architectural Plans
If you have architectural plans, most especially in digital form like CAD, use these for all the measurements. Concentrate on the following:
Height, width, and length of the building
Interior model dimensions: room dimensions, floor-to-ceiling height
Window and door dimensions for models focused on the exterior
Using Site Surveys to Get More Information
Site surveys would go a long way in helping those models that require surroundings or more than one building. They deliver terrain information, vegetation, pathways, and other structures close by.

Step 3: Scale the Dimensions for Accuracy in Model Building
After taking dimensions, they must be reduced to scale according to your decided scale/ratio so that it remains accurate.
Converting Real-World Dimensions to Model Dimensions
The general formula to scale dimensions is:
Scaled Dimension = Real Dimension / Scale Factor
Example-with a building wall dimensioned at 5000 mm and using a 1:50 scale, your working out will appear as follows:
Scaled Dimension=5000mm/50=100mm
Example Calculations for Clarity
A 10000 mm wall will scale to 100 mm on a 1:100 scale.
A 3000 mm door would scale to 60 mm on a 1:50 scale.
Recheck each calculation for accuracy, as minor mistakes at this point could affect the proportion of the model.
Step 4: Detailed Planning of the Model
With the dimensions scaled, a detailed plan will facilitate modeling without hurdles.
Create a layout or drawing for the model
First, draw out rough schematics of your model on paper or with design software. This should include structure (windows, doorways, any other architectural elements); interior layout-if any models are detailed inside; and the site of the surroundings to the place the structure will sit-plantings, other buildings.
Identifying Key Features to Include in the Model
Consider what’s essential for the model’s purpose. For example:
- Structural features like beams, columns, and staircases.
- Façades, porches, driveways, and other exterior details.
- Larger-scale models may include interior features such as furniture or appliances.

Step 5: Choose the Right Materials for Model Construction
Materials decide on the strength, weight, and realism of the model.
An Overview of Appropriate Materials
Following is a list of a few popular ones:
- Foam Board: Light and easy to cut; good to be used for walls and structural elements.
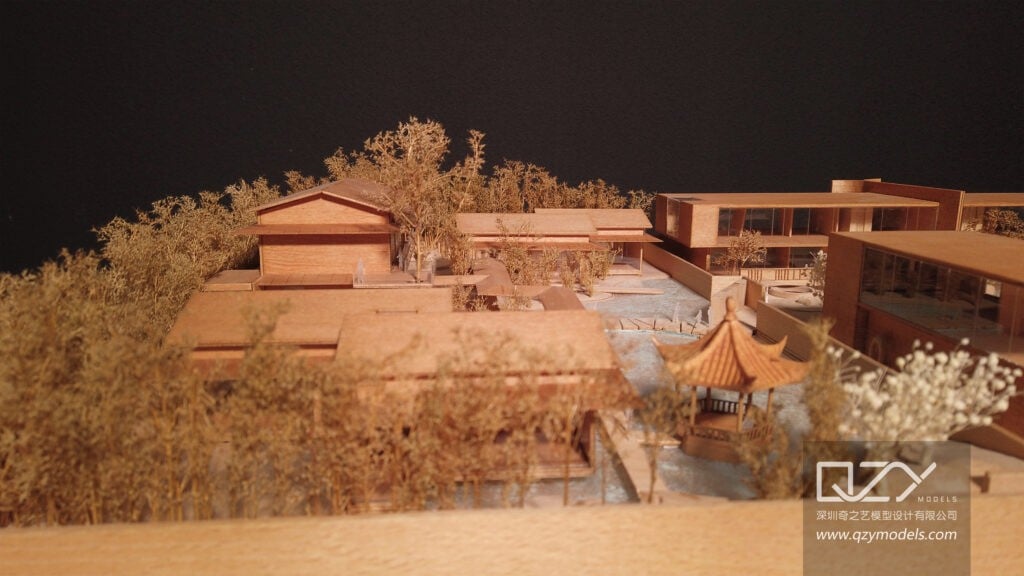
- Wood (Basswood or Balsa): Resilient and easy to shape; suitable for detailed and more scaled-up models.
- Acrylic Sheets – very good for windows, water features, and areas that need a smooth finish.
Considerations for Strength and Detail
The foam board is good to go for light and temporary models, while wood and acrylic are good for detailed models that require additional strength. The model’s purpose should be put into consideration since detailed and long-lasting models usually require solid materials.
Step 6: Construct the Model with Accuracy
This is where your plans come into reality. Careful construction will provide accuracy and help you maintain your proportions.
Model Making to Scale Dimensions
Begin with the base structure first and proceed to add walls, roofs, and other features after but according to the plan. A few tips for assembling them:
- Line up every piece dry to check dimensions and size before applying glue.
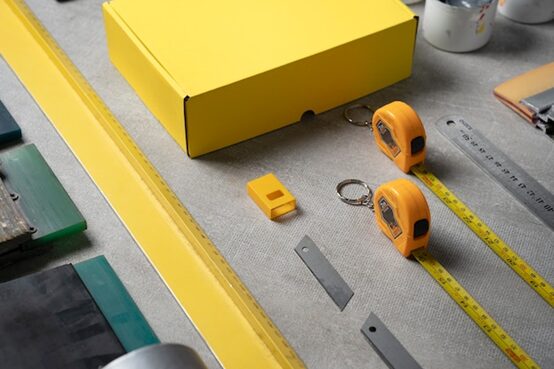
- Use precision instruments like a straightedge, utility knife, and cutting mat for clean and accurate cuts.
Determining Accuracy of Proportions and Details
Each part of the model should be measured and then checked to avoid discrepancies. A little deviation can affect the whole look and usability.
Step 7: Add Realistic Details to the Model
Details such as adding textures, windows, and doors make the model look more realistic and beautiful.
Add Elements Such as Windows, Doors, And Textures
For windows and doors, thin wood, acrylic, or transparent plastic should be used. Such materials give the model a professional finish by emulating glass.
Realistic Techniques
Following are some techniques to make it more realistic:
- Textured paint or spray for surfaces such as stucco or brick
- Sandpaper to create a rough texture resembling concrete or natural material
- Landscaping with trees and plants made of foam or flocking material.

Step 8: Review the Model for Accuracy
After it has been built, the model is reviewed to capture any inaccuracy that may have occurred.
Importance of Reviewing Model for Accuracy
Review your model against architectural plans, paying attention to proportions and main features. This helps ensure the model has stayed true to the design intent.
Making Such Adjustments as Necessary for Precision
Do the necessary minor adjustments: re-shaping of parts, removing excess material, or realigning components to achieve a professional result.
Final Thoughts
Successful scaling of a building for an architectural model requires careful planning, precise measurement, and attention to detail. A well-made model captures the essence of the architectural design and can be a very useful tool in presentations, planning, and visualization. Proceed with these steps so that you come out with a model that embodies your project vision.
For expert support, trust QZY Models—your go-to architectural model service. Our specialized model-making services bring unparalleled detail and craftsmanship to every project. Contact us today to bring your vision to life!
FAQs
1. What is the best scale a building should be scaled for an architectural model?
A: The best scale depends on the purpose of the model:
-Interior design or sectional detail models: 1:5, 1:10, 1:15, 1:20, 1:25, 1:30, 1:40, 1:50
-Finished presentation models: 1:75, 1:100, 1:150, 1:200, 1:250, 1:300, 1:400, 1:500
-Urban planning models: 1:500, 1:750, 1:1000, 1:1500, 1:2000, 1:2500, 1:3000
2. How do I work out the scaled dimensions when making an architectural model?
A: Actual dimension divided by scale factor. So for a 1:50 scale, a 3000 mm wall becomes 60 mm on the model.
3. What materials are best used with small, detailed models?
A: High-density, fine-grain wood such as birch, maple, beech, oak, and cherry wood, as well as ABS and Acrylic, are highly recommended.
4. How can I add textures to an architectural model?
A: Textures are typically added using spray paint, hand painting, UV printing, and other specialized crafting techniques.
5. How much time does the scaled model require?
A: It depends on the scale and amount of detail. The minimal design may take a few hours, while for a detailed one, it will take up to days or weeks.


